


There’s no focal point like the fireplace in a living room! This architectural element can ultimately transform the vibe of a space and create a sense of symmetry, balance, and harmony. The perfect fireplace decor can make or break a space and a timeless way to deck up your fireplace surround is by simply tiling it. Especially if you prefer to DIY, this article will help you with a step-by-step guideline on how to start tiling your next fireplace surround. So, are you excited to get started on the next fireplace surround renovation project? Well, have a look at what you’ll need and ultimately, the step-by-step procedure!
Things you need to get the project started:
- Tiles
- Adhesive
- Grout
- Tape Measure
- Tile Cutter
- Grout Float
- Sharp trowel
- Wet cloth
- Spacers
- Painter’s Tape
Step 1: Firstly, Measure and Plan
The first and foremost is to start measuring the height, length, and depth of the fireplace. Well, you need to get the exact square footage of the fireplace to best determine the size of the tiles required. With respect to the size of the tiles, you also need to determine the total number of rows and columns required.
A Pro Tip: Always order 10-15% extra for unexpected tile damage.
Step 2: Cut Tiles To Fit
Double-check the size of the tiles with respect to the surface of the fireplace. Now this is where you may need to cut the tiles to fill the empty spaces.
Step 3: Time For the Application of Tiles
With the help of a trowel, apply the adhesive to the back of the tile and start your way from bottom to up. If you plan to use grout between the tiles, ensure to add spacers! Level check and keep wiping any excessive adhesive using a wet cloth. You can now leave them overnight so they can be retained and fixed to the wall firmly.
Step 4: Apply the Grout
Now that the tiles are fixed, it’s time to apply the grout. Use the painter’s tape to cover the surface of the tiles so the grout doesn’t adhere. You must let this mixture dry for an hour and remove the residue using a wet cloth or sponge. Lastly, remember to apply caulk on the outer surface and leave it to dry overnight
Do’s and Don’ts
- Ensure that the tiles are at least 6 inches away from the source of heat to avoid any damage
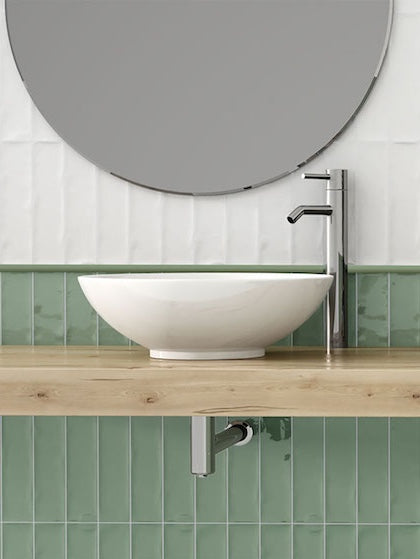
- Porcelain tiles are quite ideal to be used on the fireplace surround. The only reason is heat resistance!
- You can tile over an exposed brick surface as well
- You must choose a heat-resistant adhesive and grout that can withstand the high temperatures without cracking or any damage
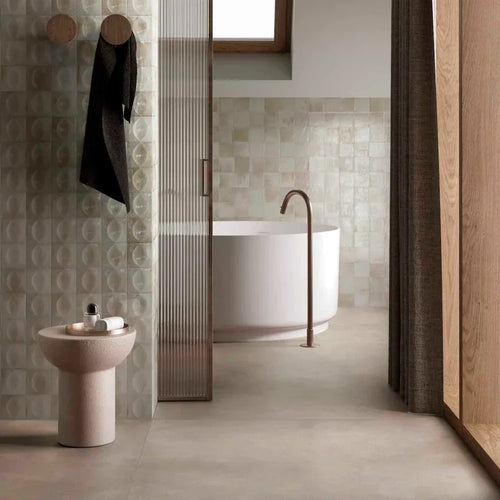
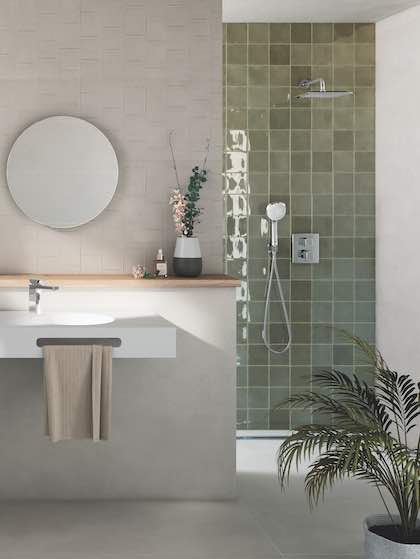
At Mineral Tiles, we offer a wide array of fireplace tiles in various colors, textures, and finishes. Also available in various shapes and sizes, you truly can create a marvel with your modern or Farmhouse-style fireplace in no time!