


Before You Begin: Know What Makes Ceramic Tile Installation Successful
The success of your tile project depends on three things — preparation, technique, and consistency. Many DIYers skip critical steps that professionals never ignore, which often leads to uneven surfaces or cracked tiles later.
At MineralTiles, years of collaboration with homeowners, designers, and installers have shown us that lasting results come from pairing quality materials with the right process. Our curated range of ceramic, porcelain, and mosaic tiles is crafted for precision and effortless installation.
These expert-backed Ceramic Tile Installation Tips will help you avoid costly errors, achieve perfect alignment, and ensure your project lasts — from bathroom upgrades to full kitchen makeovers.
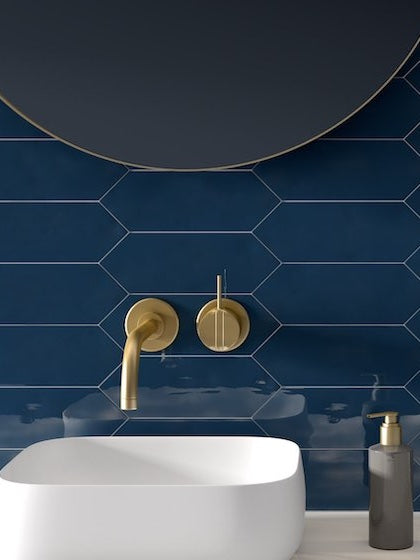
Explore Our Ceramic Tile Collection to Find Premium Options
Step-by-Step Ceramic Tile Installation Tips

1. Start Right: Plan & Prepare the Surface
Before placing a single tile, success starts with preparation. This is foundational to proper ceramic tile installation.
- Clean and level the substrate: Remove dust, debris, or grease. Fill low spots with leveling compound.
- Check for moisture/waterproofing: Especially in wet zones.
- Dry-fit layout: Do a ‘dry run’ placing tiles without adhesive, especially when working on kitchen backsplash tiles. This is essential in any DIY tile installation guide.
- Mark reference lines: Use a chalk line or laser level to mark your grid or centerline so tiles align perfectly.
This prep ensures the substrate won’t undermine your finished work.
2. Select Tools & Materials Wisely
To execute a good how-to install ceramic tiles work, you need the right kit:
- Notched trowel (size depends on tile dimension)
- Tile spacers (1/8", 3/16", ¼" as needed)
- Tile cutter or wet saw
- Level, rubber mallet, straightedge
- Grout float, sponge, bucket
- Quality thin-set / adhesive, grout (unsanded or sanded as tile demands)
- Sealer/grout sealer
Also:
- Match tiles (check batch numbers)
- Keep a spare set for cuts/breakage
Using proper tools is one of the most overlooked Ceramic Tile Installation Tips by beginners.
Shop Tile Installation Tools & Accessories Designed for Precision and Efficiency.
3. Adhesive Application & Tile Setting
This is where the magic happens — if done right.
- Mix adhesive to the manufacturer’s spec.
- Spread with the notched side of your trowel. Use the back-buttering technique (apply adhesive also to the back of a tile) if dealing with large tiles.
- Only spread a section you can tile within 15–20 minutes to avoid skimming over.
- Press each tile firmly and wiggle slightly to seat it. Use spacers immediately.
- Continuously check for level and flatness using a straightedge or level.
These methods fall under advanced tile laying techniques — but beginners can master them with practice.
4. Grouting & Finishing
Once adhesive cures (usually 24 hours):
- Mix the grout to a creamy consistency.
- Use the grout float at a 45° angle to push grout into joints.
- Remove excess quickly with the float.
- After 15–20 minutes (or as per product), gently sponge over the surface diagonally (don’t dig out joints).
- Once the grout is firm, polish the haze with a dry cloth.
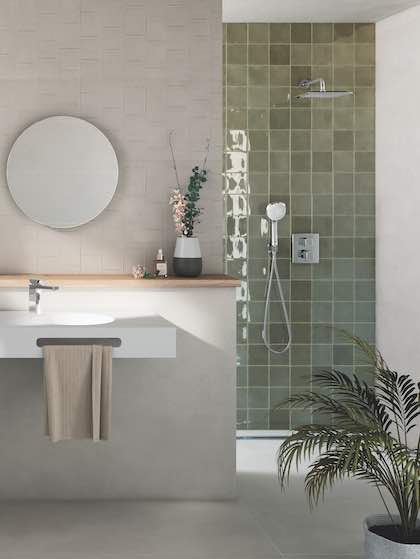
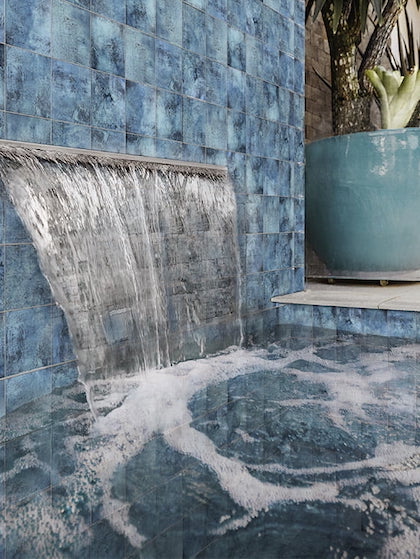
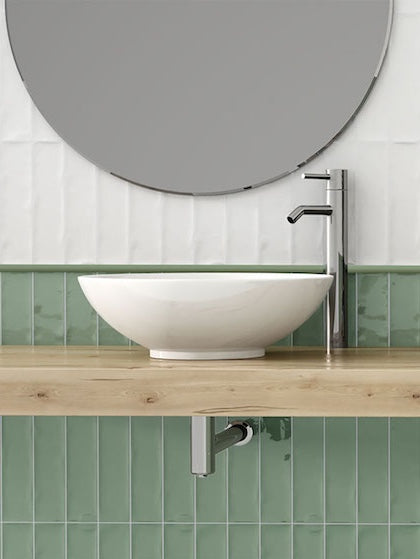
- Let cure fully, then apply grout sealer — essential for bathroom tiles or other high-moisture zones (especially high moisture areas).
Tip: Grout color matters — lighter grouts show more staining but make spaces feel bright; darker grouts mask dirt but can show dust.
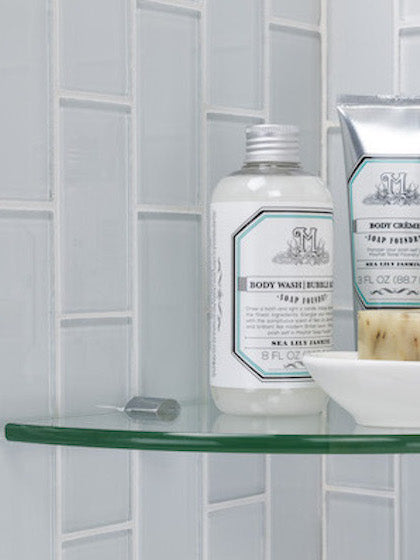
Perfect your Project with Matching Grout and Finishes.
5. Post-installation Care & Maintenance
A solid install is just half the job — longevity depends on care:
- Clean gently with pH-neutral tile cleaners.
- Reseal grout periodically (once a year in bathrooms).
- Avoid abrasive scrubbers or acid-based cleaners.
- Immediately wipe spills to avoid stains.
- Monitor for cracks or loosening and repair early.
This maintenance advice reinforces your position as a trustworthy authority.
Avoid Common Mistakes (and Fix Them When They Happen)

| Mistake | Risk / Consequence | Fix / Prevention |
|---|---|---|
| Skipping surface prep | Uneven tiles, popping later | Never skip cleaning, leveling, and priming |
| Using the wrong trowel size | Adhesive not full contact | Always match the trowel size to the tile |
| Delaying grout too long | Grout doesn’t fill joints | Work methodically in zones |
| Rushing the curing time | Cracks, shifting | Always wait full cure before foot traffic |
| Overusing water when cleaning | Weakens grout | Use a damp sponge, not flooding water |
Recognizing and correcting these early is another of the key Ceramic Tile Installation Tips.
Why Ceramic Tile Installation Feels Intimidating (But Doesn’t Have to Be)
Ever wondered why so many homeowners hesitate to install tiles themselves? It’s not because the process is complex — it’s because most people miss small yet crucial details. The good news: with the right Ceramic Tile Installation Tips and a little patience, even beginners can create professional-grade finishes.
In this guide, you’ll discover:
- The exact tools and surface prep steps professionals swear by
- Common installation errors (and how to avoid them)
- Pro-approved tile laying techniques for smooth alignment and lasting results
Let’s dive in and make your first tile project a success.
Conclusion
Installing ceramic tiles isn’t rocket science — it’s a craft built on patience, precision, and the right guidance. By applying these Ceramic Tile Installation Tips, using professional-grade tile laying techniques, and following a structured DIY tile installation guide, even first-time installers can achieve seamless, durable, and design-forward results.
With the right materials and approach, your next tiling project can look like it was done by an expert — because, with the right preparation, it practically is.