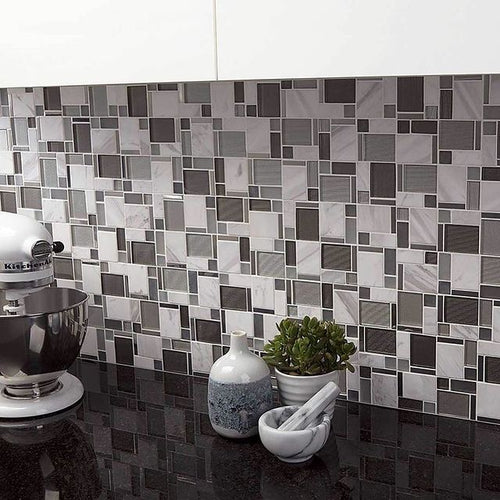

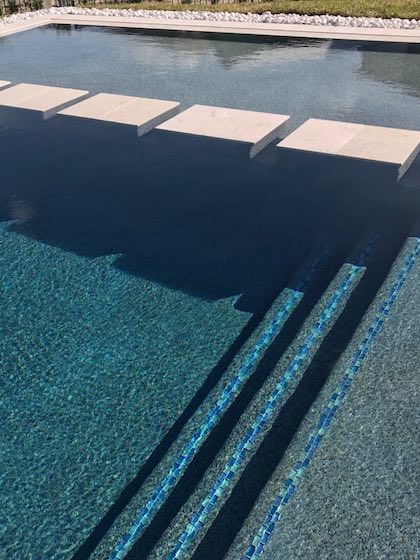
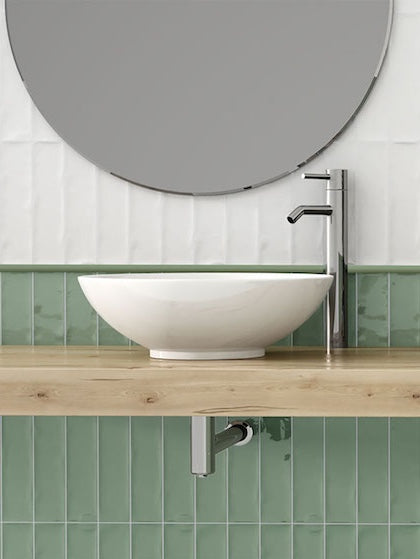
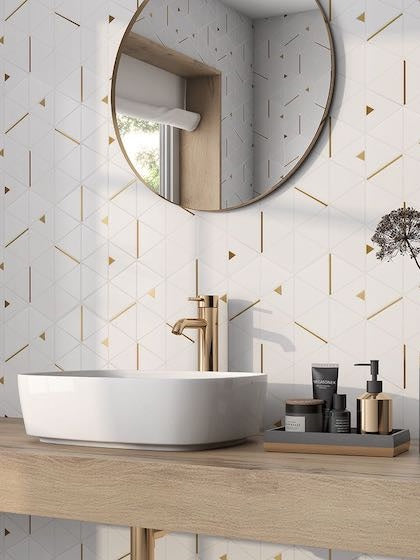
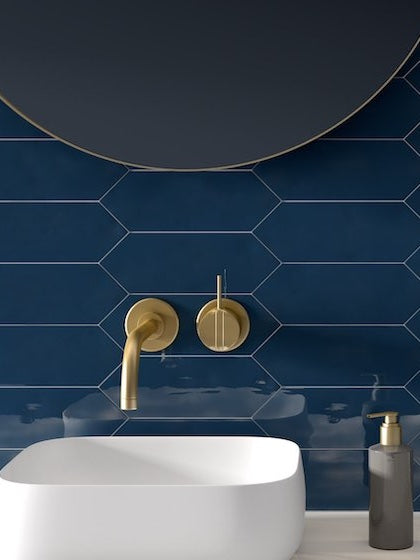
Are you looking to refresh or completely renovate a kitchen or bathroom space? You may be bored of the old-school wall tiles and are looking for something new and classy. Well, you’re in the right spot! In this ultimate guideline about removing tiles, we have elaborated 5 easy step-by-step ways to do so!
Removing wall tiles may seem like a daunting task. It may be termed as a ‘professional only’ job and a DIYer may simply dream how to uninstall one. But no more! With these 5 easy breezy steps, you’ll be able to dive deeper into your dream project and meanwhile, enjoy the process too. So, let’s get started!
Before we get started, you must have the following items handy with you!
- Protective Gloves
- Safety Glasses
- Hammer
- Scraper
- Masonry Chisel
- Dust Mask
- Old Cardboard or Dust Sheets
- Closed Toe Shoes
Step 1: Cover and Protect the Surface Below
Now that you’re looking to start removing wall tiles, just ensure to cover and protect the floor right underneath. This is because the falling debris and dust may damage the surface below! This is when you need the dust sheets to protect against the falling of sharp construction materials and broken tile pieces.
A Pro Tip: You may also use the cardboard packaging as a base from an old discarded parcel from weeks ago!
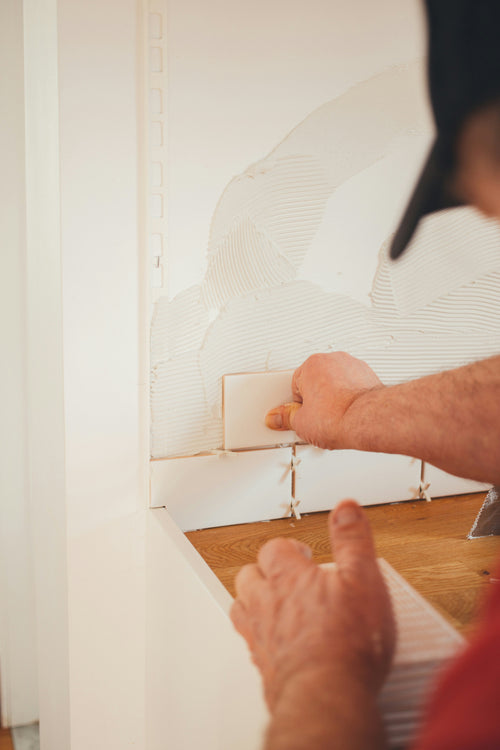
Step 2: Commence with the First Tile
Cover the floor surface as well as yourself! Yes, it’s time that you gear up yourself with protective gear, shoes, helmet, and goggles. First and foremost, look for the most damaged tile on the wall to be removed. This could be the tile that is already loose or has some degree of damage. If there isn’t any damage, simply start from the top leftmost corner and go one by one!
Step 3: Get the Remaining Tiles Off
Now that you have the first wall tile off, it’s time to start removing the remaining tiles. Yes, it should be relatively easy to remove the remaining tiles considering the first one is always the hardest to remove. Excited to know the procedure? Well, simply insert a chisel between the tile edges and slowly start to hammer until the tile comes off.
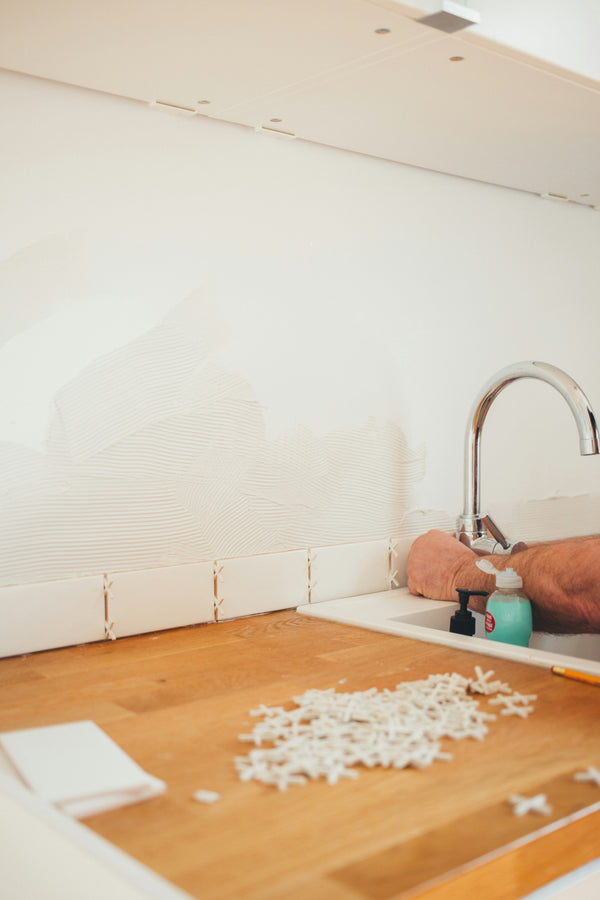
Step 4: Even Out the Wall
While the cardboard and dust sheets are still on, you must prepare the wall for installing new tiles. For instance, remove the existing tile adhesive, tap off any large chunks of scrape, and smoothen the surface. In case the plaster has come off from the wall surface, ensure to fill the holes and surface.
Step 5: Clean It Up
Remove the cardboard base or sheets from the bathroom space and empty it in the bin. Use a dustpan and brush to clear off any dust collected on the surface or one fallen from the cardboard. Lastly, vacuum clean the floor surface followed by wiping with a damp cloth.
A Pro Tip: Don’t let the construction waste go in vain! Yes, you may sell it since these particles can be reused as well. Happy Earth is happy us!