


Key Points
- Proper adhesive removal ensures strong bonding, level surfaces, and long-lasting tile performance.
- Use a hybrid method—scraping, chemical or steam softening, and grinding—for best results.
- Always test first, wear safety gear, and repair concrete before re-tiling.
Why It Matters: Adhesive Removal & Surface Preparation
Before we dive into “how to remove tile adhesive from concrete,” let’s quickly cover why it’s critical:
- Bond strength: New tile adhesive (thinset, mastic, etc.) needs a clean, solid surface. Old adhesive or residue can prevent bonding, causing tiles to fail later.
- Flatness & level: Adhesive lumps or ridges can cause unevenness, lippage, or weak spots.
- Prevent moisture/delamination: Incomplete removal might trap moisture, cause peeling, or bubble formation.
- Longevity & structural integrity: Proper removal ensures the concrete isn’t accidentally gouged or damaged.
When you understand “how do you remove tile adhesive from concrete” comprehensively, you reduce rework, waste, and material failures.
Types of Adhesives & Substrate Factors
Before removal, identify the adhesive type and concrete condition — your method depends on both.
| Adhesive Type | Characteristics | Removal Implications |
|---|---|---|
| Cementitious thinset / mortar | Rigid, bonded with sand & cement | Often requires grinding, mechanical chiseling, or aggressive removal |
| Mastic / organic adhesives | Softer, often water-sensitive | Better softened with water, solvent, and chemical removers |
| Epoxy/urethane adhesives | Very hard, chemical bonds | Requires strong solvents or professional removal |
| Hybrid/polymer adhesives | Mixed properties | Test small patch first; may require combo approach |
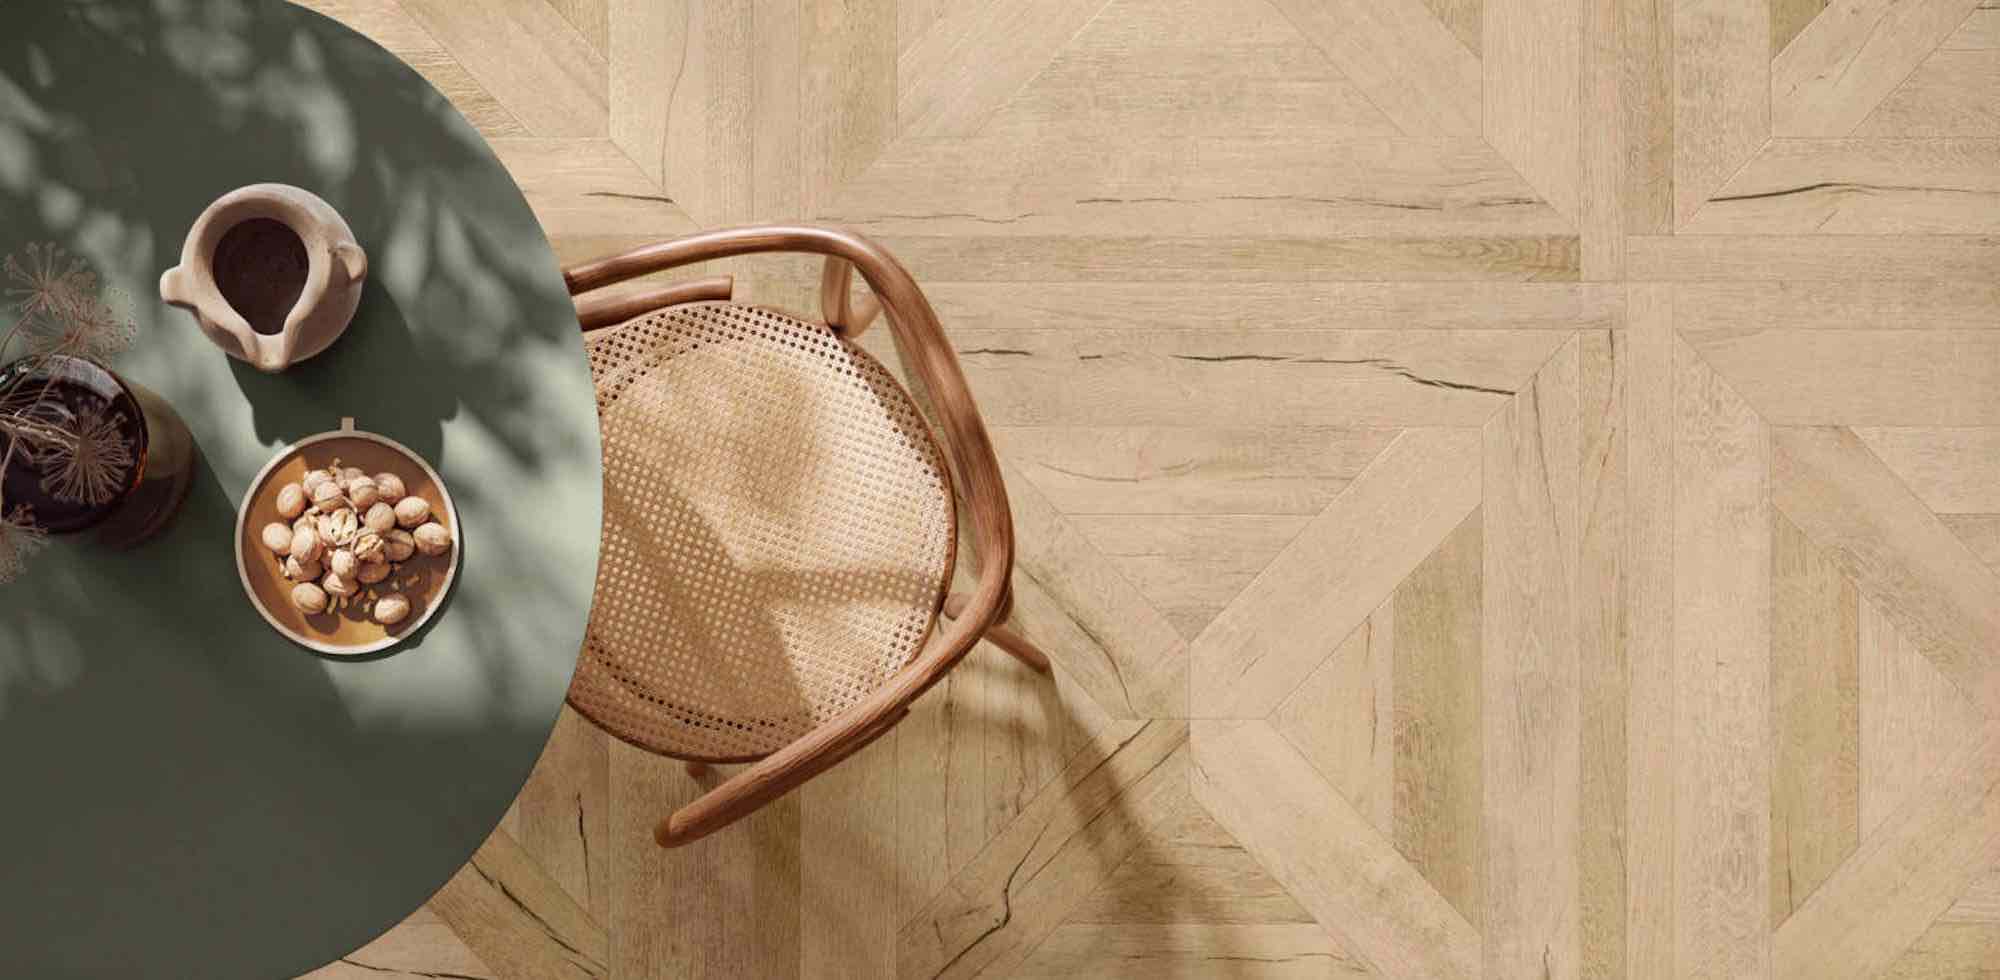
Concrete substrate condition matters too: porous surfaces, cracks, or weak patches influence which removal method is safe — especially if you’re planning to install floor tiles for concrete surfaces that require even, dust-free bases. Always test in a small area first.
Safety, Tools & Materials

Before executing how to remove tile adhesive from concrete, you must prepare properly — using the right tile installation tools and protective gear can make a major difference in results, you must prepare properly:
Safety & Precautions
- Wear safety gear: goggles, gloves, a dust mask (or respirator rated for fine dust), ear protection, and long sleeves.
- Ensure ventilation when using solvents or chemicals.
- Wet the work area lightly to suppress dust (for mechanical methods).
- Test any chemical or solvent in a small inconspicuous patch.
- Follow local regulations for disposing of removed adhesive/chemical waste.
Tools & Materials Needed
| Tool / Material | Purpose |
|---|---|
| Scrapers, chisels, putty knives | Manual removal, edges, corners |
| Rotary hammer / SDS chisel bit | For aggressive mechanical removal |
| Floor grinder/angle grinder with diamond cup | Smoothing, removing layer residue |
| Oscillating tool with scraper blade | Medium adhesive patches |
| Chemical adhesive remover/stripper | Soften the adhesive before flaking |
| Warm/hot water, steam/steamer | Pre-softening organic adhesives |
| Wet/dry vacuum or shop vac | Collect dust/debris |
| Broom, towels, buckets | Cleanup and washing |
| Concrete patching compounds/filler | For repairing small pits after removal |
Explore premium floor and wall tiles
Methods: Step-by-Step Approaches
Here, we cover different methods to remove tile adhesive from concrete. Depending on adhesive type, area size, budget, and substrate, you may combine more than one.
Method A: Mechanical Scraping / Chiseling
This is often the first line when the adhesive is thick or old.
-
Start by using a chisel and hammer or flat scraper to break bulk adhesive into chunks.
-
Hold chisel at a low angle (about 30–45°) to avoid gouging concrete.
-
Use an SDS hammer (rotary hammer with chisel bit) for tougher bonding layers. Many tradespeople recommend an SDS drill to pound away bulk adhesive on floors.
-
For the remaining residue, use an oscillating tool with a scraper attachment.
-
After the majority is off, smooth out the residual with a grinder or diamond cup wheel.
Pros ✅
No chemical fumes; works well on cement adhesives
Cons ⚠️
Labor-intensive; risk of gouging concrete if not careful
Method B: Chemical / Solvent Removal
Effective for softer or stubborn adhesive residues (like mastic or organic adhesives).
-
Dampen the surface (if safe) using warm water or steam to start softening.
-
Apply a chemical adhesive remover thickly over the adhesive and let it dwell per the manufacturer’s instructions.
-
Use a scraper or putty knife to lift softened material.
-
Rinse the area with water and scrub off leftover residue.
-
If needed, repeat for stubborn spots.
Pros ✅
Less physical effort, more selective removal
Cons ⚠️
Cost, fumes, and possible effect on concrete or surrounding surfaces
Method C: Grinding / Abrasive Removal
When the residue is thin or after bulk removal.
-
Use a floor grinder with a diamond grinding cup or smoothing pads.
-
Move systematically over the surface, avoiding staying too long in one spot.
-
Vacuum continuously to manage dust.
-
Stop when the surface is reasonably smooth and most adhesive is removed.
Pros ✅
Efficient for large or smooth surfaces
Cons ⚠️
Dusty, need good equipment and dust control
Method D: Steam / Hot Water Assisted Removal
Particularly effective on certain mastics or adhesives.
-
Use a hand steamer or steam cleaner to heat a patch of adhesive.
-
Once the adhesive softens, use a scraper to lift off.
-
Move in sections to avoid cooling.
-
Follow with chemical or mechanical cleanup if residue remains.
Pros ✅
Gentle, low damage
Cons ⚠️
Slower, limited effectiveness on very hard adhesives
Method E: Combination Approach
Often, the best way to remove old tile adhesive is a hybrid: initial bulk removal mechanically, then chemical/steam for residue, then grinding and final smoothing. Using multiple methods ensures thorough removal without overdoing any single approach.
Practical Tips, Mistakes to Avoid & Best Practices
- Start small & test patch: Always try your method in a 20 × 20 cm area first.
- Work in manageable segments: (e.g., 1 m²) to prevent re-hardening of adhesive.
- Beware over-grinding: Don’t go too deep into concrete — preserve substrate strength.
- Dust control is key: Use a vacuum with attachments, dampen the surface where safe.
- Avoid harsh acids unless necessary: Some professionals advise against using brick acid or strong acids, as they can etch or discolor concrete.
- Use correct chemicals: Always refer to the adhesive manufacturer’s guidelines.
- Patch and level afterward: Fill any gouges or pits to ensure flatness for new tile — then explore grout and tile adhesive options that match your substrate and tile material.
- Document the process: Take before, during, and after photos for quality assurance.
Conclusion
Understanding how to remove tile adhesive from concrete is essential for any serious tiling or renovation project. By combining mechanical, chemical, and thermal methods — along with safety precautions and quality control — you ensure a clean, stable base for your new tiles.
At MineralTiles, we’ve walked this path in countless projects. If you need product recommendations (adhesive removers, grinders, scrapers) or want us to review your site plans or photos, feel free to reach out. We’re here to support your next tiling success.