


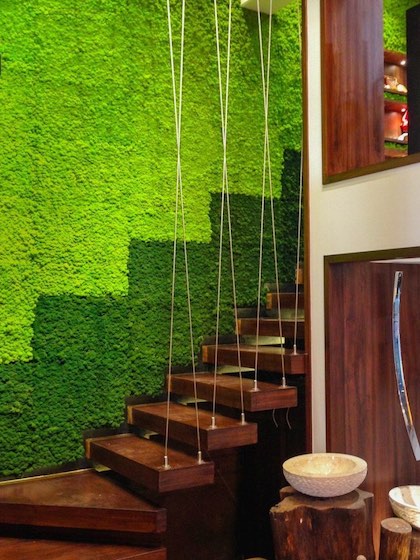
Stairs are one of the most ignored aspects of a home. When thinking about tiling, the first and foremost surfaces are the walls and floors of the hallway, kitchen, bathroom, and so on. But what about the stairs? Well, this space can equally create a warm, welcoming, and enchanting appeal. So, why not give your stairways a fresh start and make them as appealing as the other areas of your home? Consider this step-by-step guideline for your dream stairway makeover project.
Materials and Tools You’ll Need
- Tiles
- Tile Cutter
- Spirit Level
- Thin-set mortar
- Bucket
- Grout Float
- Notched Trowel
- Safety Gloves
- Eye Protection
- Rubber Hammer
Step 1: Measure Before You Begin
You need to first calculate the total tiles you’ll ultimately need. Measure the length and width and consider the vertical risers as well. Post this, multiply the length by width so you can calculate the overall area of the space. For irregular-shaped stairways, ensure to multiply the length and width separately and then later add all the dimensions. Porcelain tiles are a great recommendation for tiling stairs. They’re durable and will last a long time!
A Pro Tip: Always add an extra 10% of tiles for any damages and breakages during installation.
Step 2: Prepare the Stairs
Now that you know the number of tiles required for the project, ensure to thoroughly clean the base to get the work started. The subsurface must be free of any debris and dirt - otherwise, the new layer of tiles won’t adhere effectively. Use a spirit level with the help of mortar and trowel if there are uneven areas to smoothen.
Step 3: Apply the Adhesive
First and foremost, you must add a few drops of water using a sponge to the tile adhesive to help create a bond with the staircase subsurface. Don’t overdo and over-add water to the mixture. Now, add a fresh layer of adhesive to the surface using a notched trowel. Later, you can even use the comb side of the notched trowel to ensure balance and an even surface.
Step 4: Lay the Tiles
You must already have your tiles ready beforehand so the adhesive doesn’t dry! Use the spirit level to ensure all the tiles are laid out straight and evenly. Using a rubber hammer, gently press the tiles so they don’t crack or the adhesive doesn’t squeeze out. Start laying the tiles out on the tread followed by the riser!
A Pro Tip: Always start tiling from the center towards the edges to create a seamless and smooth appeal.
Step 5: Finish Grouting
Once the tiles are laid and the adhesive is dry, it’s time to start grouting to keep them in place. Use the grout float to smoothen the surface and fill any possible gaps. Once the grouting is done, ensure to wipe the surface using a damp cloth and remove any excess. Let the tiles and grout stay for 24 hours before you wipe the surface again and get them to work!