

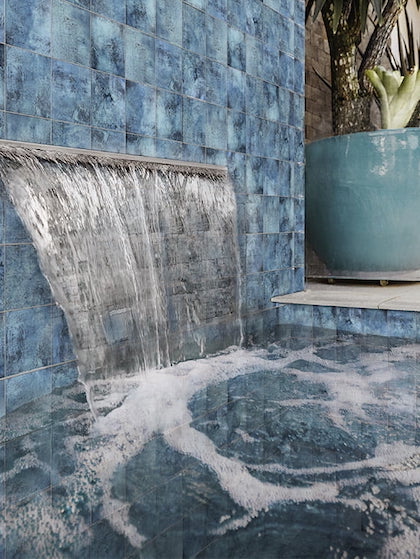
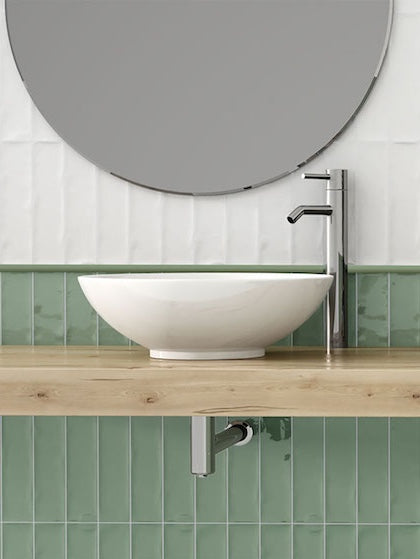
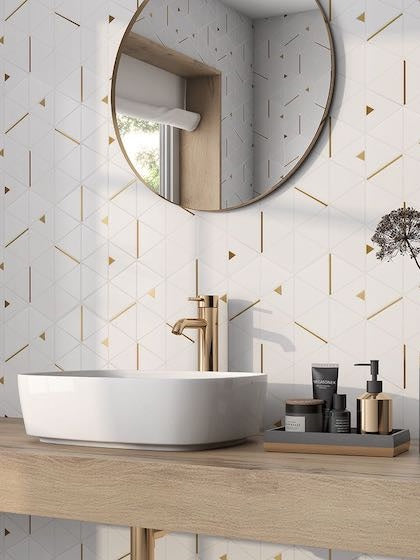
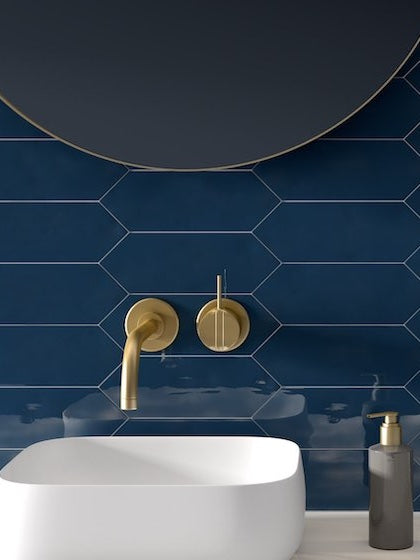
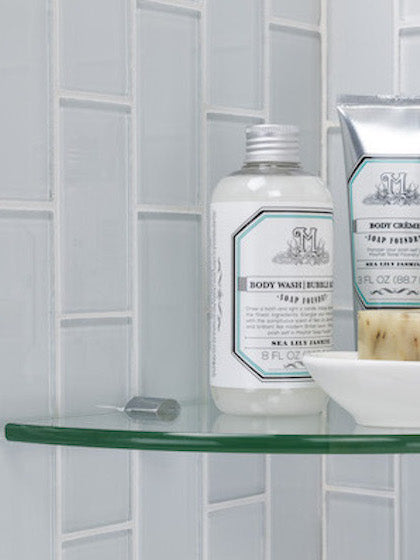
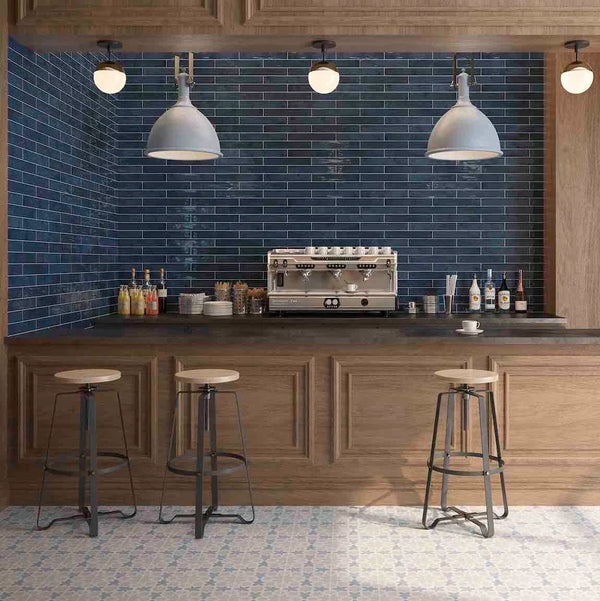
Installing Zellige tiles can be quite a tricky yet fun business! Since each tile piece is unique and has its own perfect ‘imperfections’, there are quite a few considerations to take note of. In general, it’s difficult to DIY the zellige tiles - hence, it’s always required to hire a professional to do so. Ideally, installers must have commendable experience in installing handcrafted tiles since they can truly understand the beauty of ‘laying’ the unique pieces together for a seamless appearance.
So, whether you’re a tile installer or looking to learn the skill of laying zellige tiles - this article is all for you! Don’t worry - here, we have elaborated a quick step-by-step guideline on installing zellige tiles. Have a look!
Key Highlights
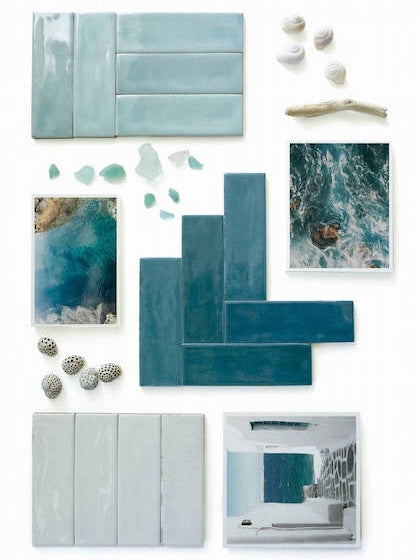
- Zellige tiles are handmade and vary in tone and size, requiring experienced installation for a seamless look.
- Always mix tiles from multiple boxes and pre-soak glazed tiles to prevent air bubbles and color imbalance.
- Use thinset adhesive and a laser level for even placement—start from the center and move outward.
- Choose tonal grout that blends with the tile to maintain a rustic yet refined finish.
Materials Needed for Installing Zellige Tiles:
- Zellige Tiles
- Tile trowel
- Grout Float
- Sponge
- Spacers for sockets
- Silicone Caulk
- Wet tile saw
- Laser Level
- Tile Adhesive
Step-by-Step Guideline for Installing Zellige Tiles

Step 1: Inspect the Tiles
First and foremost, you must always ensure to inspect the tiles and keep aside the broken pieces that may have been damaged while transporting. Now here’s a pro tip - always order 10 to 15 tile pieces additionally to cover any unexpected damage or casualties.
Step 2: Mix & Merge the Tiles
Each zellige tile is unique and distinctive from one another. So, you must mix and merge the tiles from different boxes and rows to blend the overall color scheme. Yes, you must blend all the boxes for shade and hue variation to create a sense of harmony.
Step 3: Soak them in Water
Ensure to soak all the tiles in water for about 1 to 2 minutes. And do you know why? Well, it releases air from the clay!
Step 4: Time for Preparation
You must prepare and level the wall before installing the zellige tiles. At this time, you must clean off any dirt or dust collected on the surface.
Step 5: Application of Tiles
You must use a tile trowel to apply adhesive on the surface to be tiled as well as the back side of the tile. Silicone can be used here! Start from the center of the wall and then evenly move outwards so you can achieve symmetry on the extreme edges of the wall. Use a laser level for even vertical and horizontal row orientation.
A pro tip: Since zellige tiles are handmade, there’s quite a possibility for some tiles to be slightly chipped or may not be a perfect shape. (Well, that’s due to the natural characteristics of the zellige tiles). Hence, it’s important to maintain a level between tile rows and columns!
Step 6: Grout the Gaps
Once the zellige tiles are well fixed and the adhesive is dry, you must evenly spread grout between the tile edges to fill any gaps.
Step 7: Clean the Surface
Now is the time to wipe off any unwanted adhesive or dirt using a sponge or damp cloth. Also, you must perform this as soon as possible since the adhesive will eventually get hard and it will be difficult to remove.
So, now - your glamorous and glazed zellige tiles are all set to make a statement!
Pro Tips & Common Pitfalls
Hire an Installer with Genuine Zellige Experience
Authentic zellige tiles, hand‑molded, cut, and glazed—come in varying thickness and textures that demand a skilled eye during installation. Designers and tile setters who specialize in zellige know how to:
- Blend tile shades and tones effectively
- Sort by tile thickness to minimize lippage
- Plan and approve a layout mockup before permanent setting (clients should review a mock-up area to assess colour and surface variation)
Choose a Grout Color That Blends, Not Contrasts
Many DIY installers choose bright-white grout that unintentionally emphasizes every crack, chip, and grout line, making the installation look messy rather than rustic. Avoid this by:
- Selecting a tonal grout (warm grey, beige, or sand tones) that closely matches your tile shade
- Holding grout samples next to the tile under actual lighting (not just in showroom catalogs)
What Not to Over‑Optimize
While refining your blog, avoid overemphasizing these areas—they may distract readers and dilute the focus on practical installation tips:
- Extensive historical background or the centuries‑old lineage of Moroccan zellige—unless it's central to your SEO keyword strategy.
- Deep dives into individual manufacturers’ brand origin stories—these don't typically drive search intent or installation interest.
- Over-repeating previously covered advice, such as soaking tiles or using thinset adhesives. Instead, integrate these into a compact step outline or FAQ.
Conclusion
Zellige tiling brings together artisan beauty and timeless character, but it also demands precision during installation, the right materials, and an experienced hand. By blending tiles beforehand, leveling surfaces carefully, using thinset instead of mastic, and choosing a tone‑matching grout, you can embrace zellige’s imperfect charm while achieving polished, enduring results.
Whether you’re hosting a backsplash, shower wall, or feature panel, following these guidelines will help ensure your handcrafted Moroccan tiles look like art—not chaos. And if you ever feel stuck, hiring a skilled installer with prior zellige experience is your best investment.