


Why the Window Zone Deserves Special Attention
-
Natural focal point: Windows draw the eye. A carefully designed backsplash around a kitchen window accentuates that focal zone and ties the rest of the kitchen together. If you’re planning your next remodel, our Modern Kitchen Tile Trends guide can help you choose tile layouts that complement your window zone.
-
Protection from moisture: The sink is often right under the window; splashes and condensation can damage drywall over time if left exposed. A proper backsplash ensures durability.
-
Design continuity: Extending your backsplash tile through the window area helps avoid visual breaks and awkward transitions — you can explore more tile layout styles in our TileTalk blog for inspiration.
-
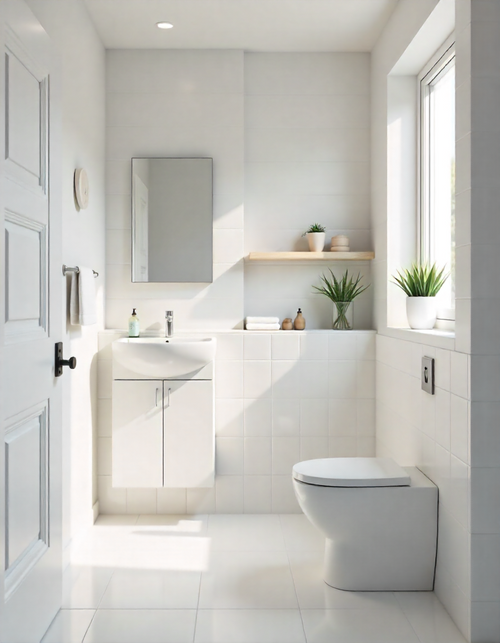
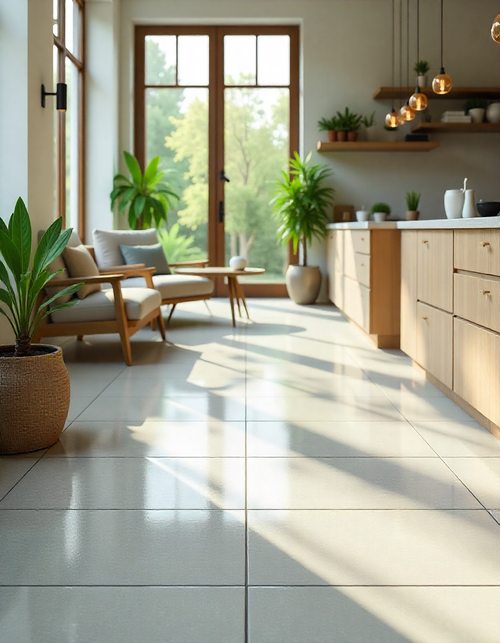
Light interaction: Tiles reflect and diffuse light differently. Choosing the right finish can either soften harsh sunlight or emphasize brightness.
Design Concepts for Backsplash Around a Kitchen Window
Below are design techniques to elevate your backsplash around a kitchen window — many of these motifs echo ideas we discuss in Unique Kitchen Backsplash Ideas.
6 Stylish Design Concepts for Window Backsplashes
Seamless Extension Design

A seamless extension design makes your kitchen window backsplash flow naturally with the rest of the wall, creating a clean, unified look. By continuing the same tile pattern or color around the window frame, the space feels larger, brighter, and more thoughtfully designed. It’s a subtle detail that adds sophistication without drawing too much attention.
Best Mineral Tiles Products:
- Magnolia Distressed Subway Tile Bianco 2.5x9.5
- Perfect white base for bright, continuous designs.
Pro tip: Use bullnose or pencil trim tiles at window edges to achieve clean, professional transitions.
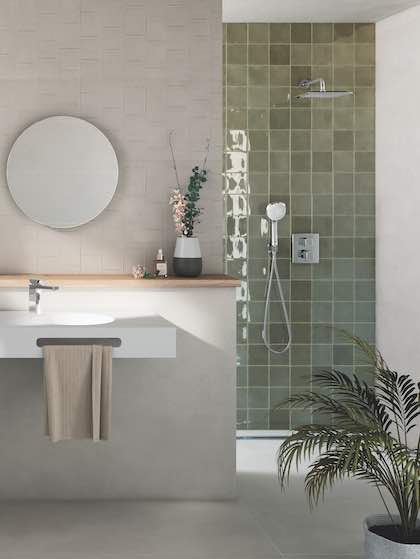
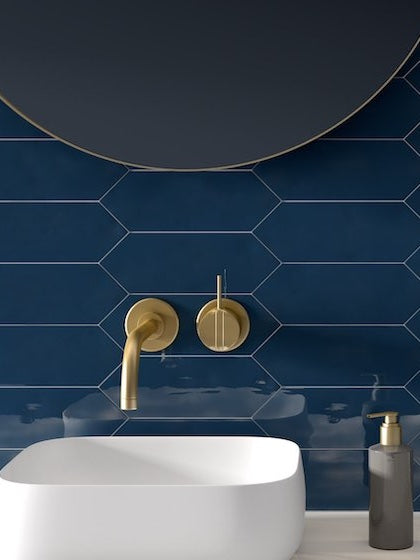
Contrasting Border or Frame

A contrasting border or frame around the kitchen window turns it into a focal point rather than just a functional feature. Using a different color or texture of tile highlights the window area and adds depth to the backsplash design. This approach balances elegance with visual interest, giving the space a custom, designer feel.
Featured Mineral Tiles Products:
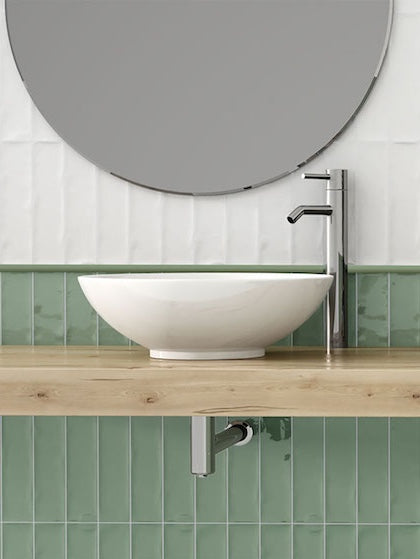
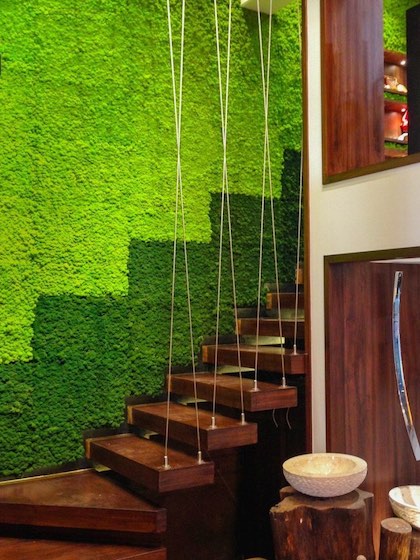
- Magnolia Distressed Subway Tile Olive 2.5x9.5
- Rich green for bold statement walls.
Installation note: Plan your layout so the accent border is symmetrical around the window opening.
Full-Height Statement Wall

A full-height statement wall takes your backsplash from simple to stunning by extending tiles all the way up to the ceiling. This bold design choice draws the eye upward, making the kitchen feel taller and more open. It’s perfect for showcasing beautiful tile patterns while creating a cohesive, high-end look.
Recommended Mineral Tiles Options:
- Vintage Subway Tile Iron 3x12
- Industrial look perfect for full-height installations.
Design benefit: This approach makes small kitchens feel larger by drawing the eye upward.
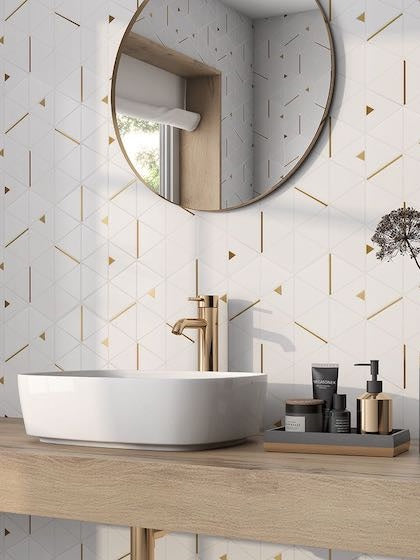
Pattern Play Around Windows

Playing with patterns around the kitchen window adds character and breaks up the monotony of plain tiles. Try using herringbone, chevron, or mosaic arrangements to frame the window and draw attention to the natural light. It’s an easy way to blend creativity with function, giving your backsplash a personalized touch.
Pattern-Perfect Mineral Tiles Products:
- Magnolia Distressed Subway Tile Avio 2.5x9.5
- Blue-grey is perfect for herringbone layouts.
Layout tip: Start your pattern from the window center and work outward for balanced symmetry.
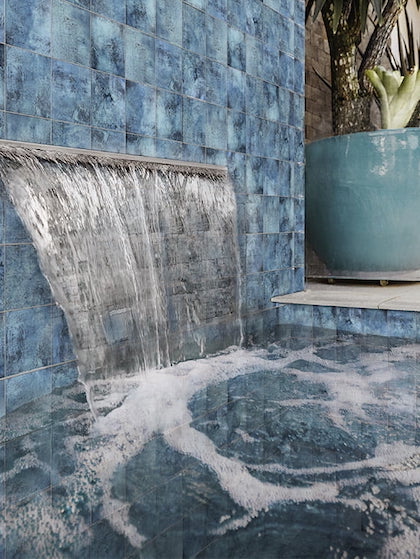
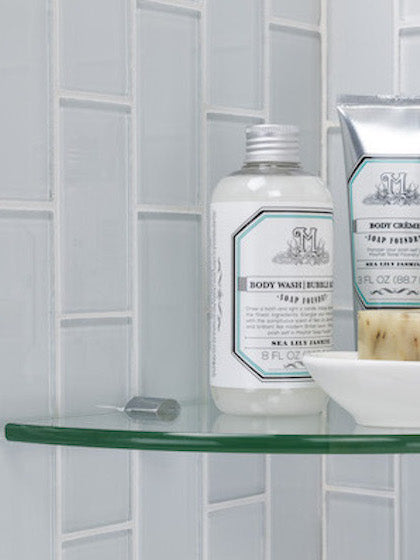
Reflective Finishes for Light Amplification

Reflective tile finishes, like glossy ceramic or glass, help amplify natural light around the kitchen window. They bounce sunlight across the room, making the space feel brighter and more open. This approach works especially well in smaller kitchens, adding both shine and a sense of spaciousness.
Light-Enhancing Mineral Tiles Collection:
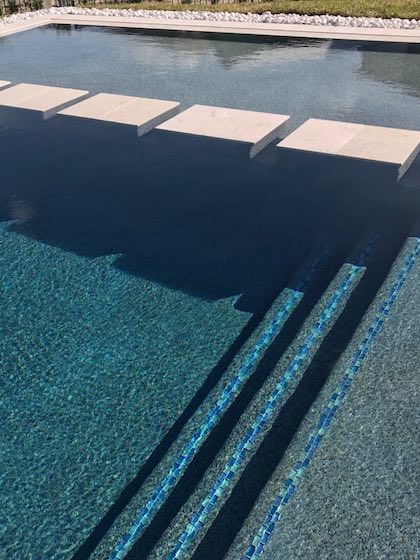
- Glass Pool Mosaic Tile Waves Dark 1x2
- Small format for detailed light play.
Lighting consideration: Pair with under-cabinet LED strips to maximize the reflective effect after sunset.
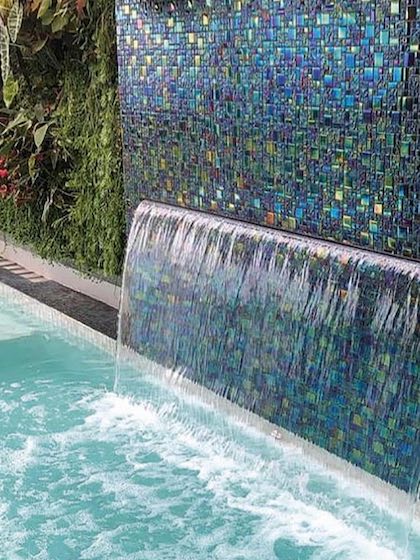
Edge Treatments and Finishing Details

Edge treatments and finishing details give your kitchen window backsplash a polished, professional look. Using trim pieces, bullnose edges, or metal profiles helps create smooth transitions between tiles and walls. These subtle touches protect edges from damage while enhancing the overall elegance of the design.
Finishing Options from Mineral Tiles:
- Wave Glass Pool Waterline Tile Cobalt 6x12
- Unique wave texture creates natural edge appeal.
Browse Our Full Kitchen Backsplash Range and Find Your Perfect Match
Choosing the Right Tile Material & Finish
Selecting the right material is crucial. Here’s a breakdown of options (drawn from Mineral Tiles’ catalog):
| Material | Best For | Considerations |
|---|---|---|
| Glass mosaic / Glass tile | Reflects light, ideal in tight or dark kitchens | Requires careful cutting and backing; grout color is important |
| Porcelain / Ceramic | Durable, versatile, cost-effective | Choose moisture-resistant or glazed finishes |
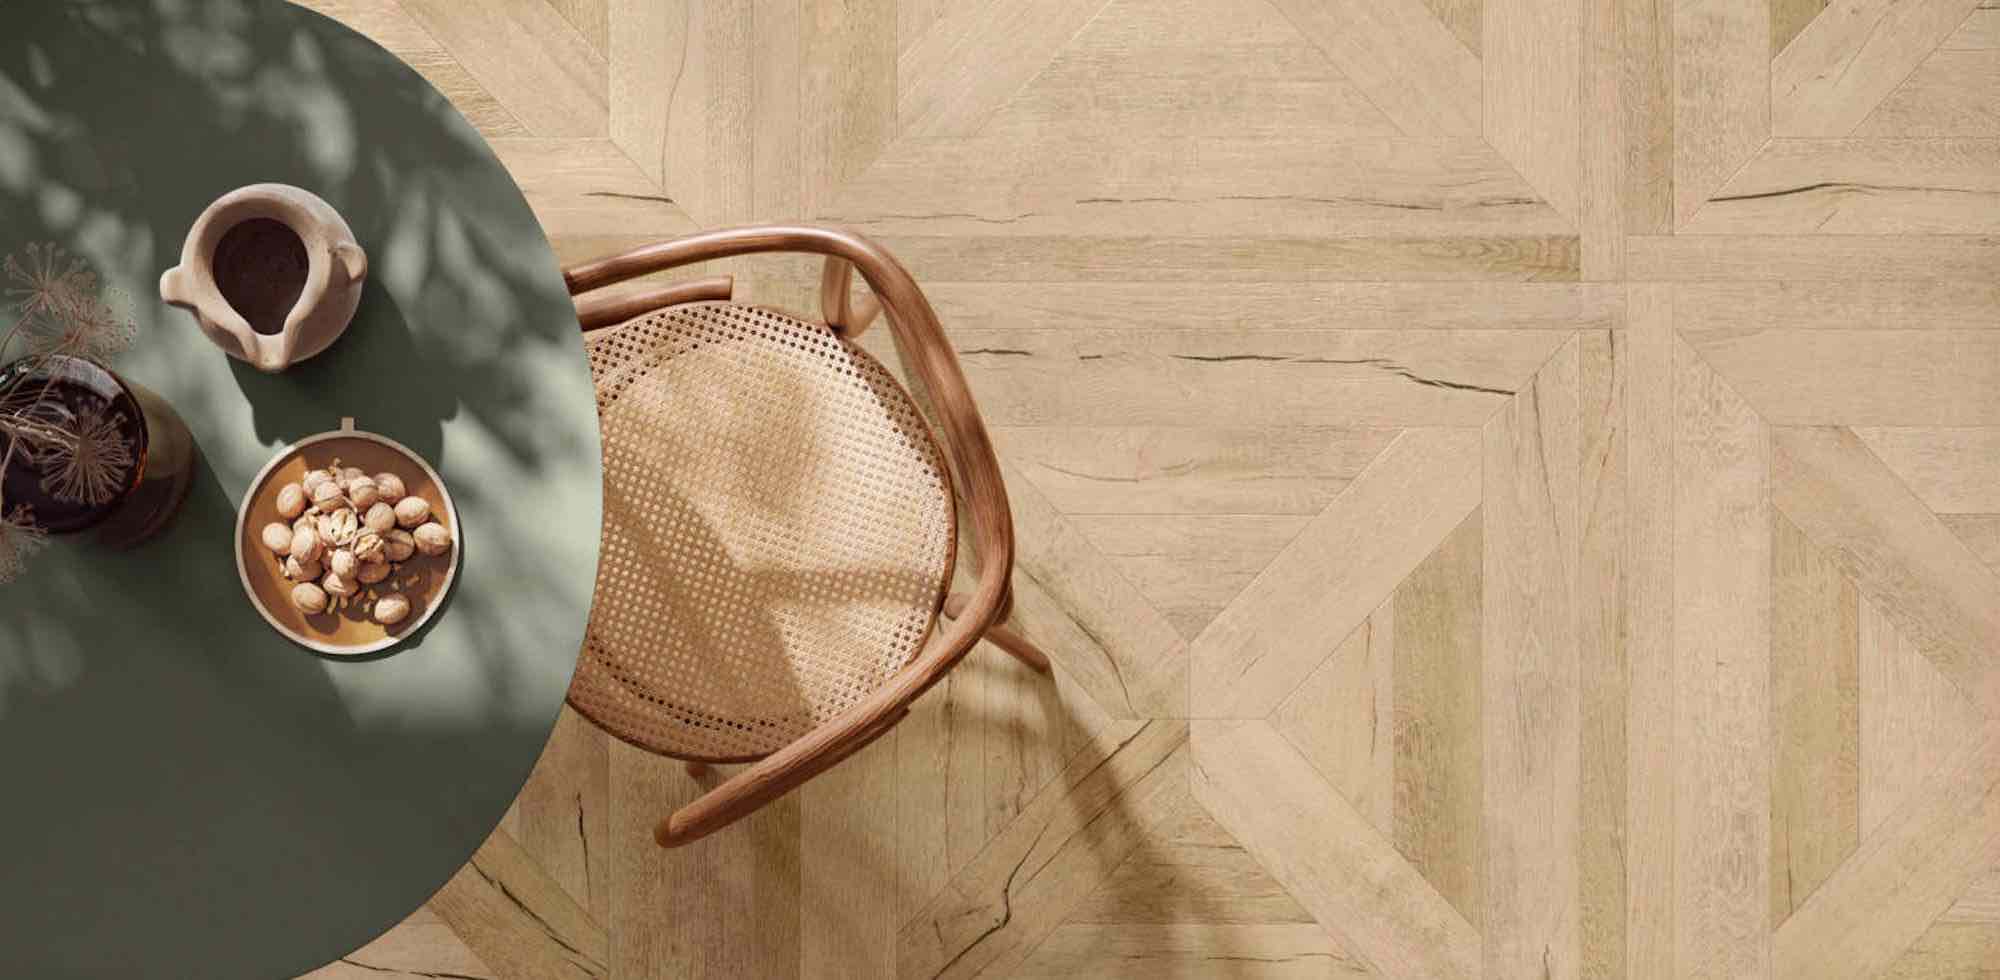
| Natural Stone | Warm, luxurious texture | Needs sealing; careful selection for moisture zones |
| Metal tiles (stainless, aluminum, brass blend) | Modern, industrial accent | Often used as a framed detail rather than a full field |
| Peel-and-stick (glass/stone hybrid) | DIY-friendly, flexible application | Best for low-moisture areas; check adhesion durability |
Tip: Match the finish (matte, gloss, mirror) to the window light. Glossy or reflective tiles can bounce sunlight deeper; matte tiles prevent glare.
Practical Tips & Installation Best Practices
Design is half the game — execution matters.
-
Precise Measurement & Layout Planning:
Before cutting, dry lay tiles around the window area. Ensure symmetry in grout lines and spacing. Plan how many full tiles vs. cut pieces will be involved. -
Managing Edge Cuts:
Use a small wet saw or tile nippers to create clean edges around window frames. Consider using pencil trim or bullnose edges where tiles terminate. -
Grout Lines & Alignment:
Maintain consistent grout width through corners. If the window interrupts a long stretch, continue the same grout spacing inside the cut zone. -
Sealing & Moisture Control:
Seal edges, particularly near window sills and trim. Use waterproof membranes behind tiles if needed. Add silicone between the tile and the window frame if expansion is possible. -
Anchoring & Adhesive Choice:
Choose adhesives rated for vertical tile loads. For heavy stone or glass, use medium-bed mortar. Ensure tile is securely pressed, especially around cut edges. -
Flooring & Countertop Transitions:
If your countertop material wraps onto the wall (e.g. slab), align the tile edge with the slab edge. Use a backerboard or back-band detail if the slab is thick. -
Finishing Touches:
Wipe grout haze promptly. Use a grout sealer, especially on darker or porous tiles. Consider under-cabinet lighting to highlight tile texture around the window.
Conclusion
A well-designed backsplash around a kitchen window blends function, light, and style into a single focal point. By selecting quality materials, planning precise layouts, and adding refined details, you can turn a simple wall into a standout feature.
Explore Mineral Tiles for backsplash collection to craft a timeless, light-reflective, and beautifully finished kitchen design.